
 Polski
  Русский
  Deutsch
  Español
  Français
  Українська
  Ελληνικά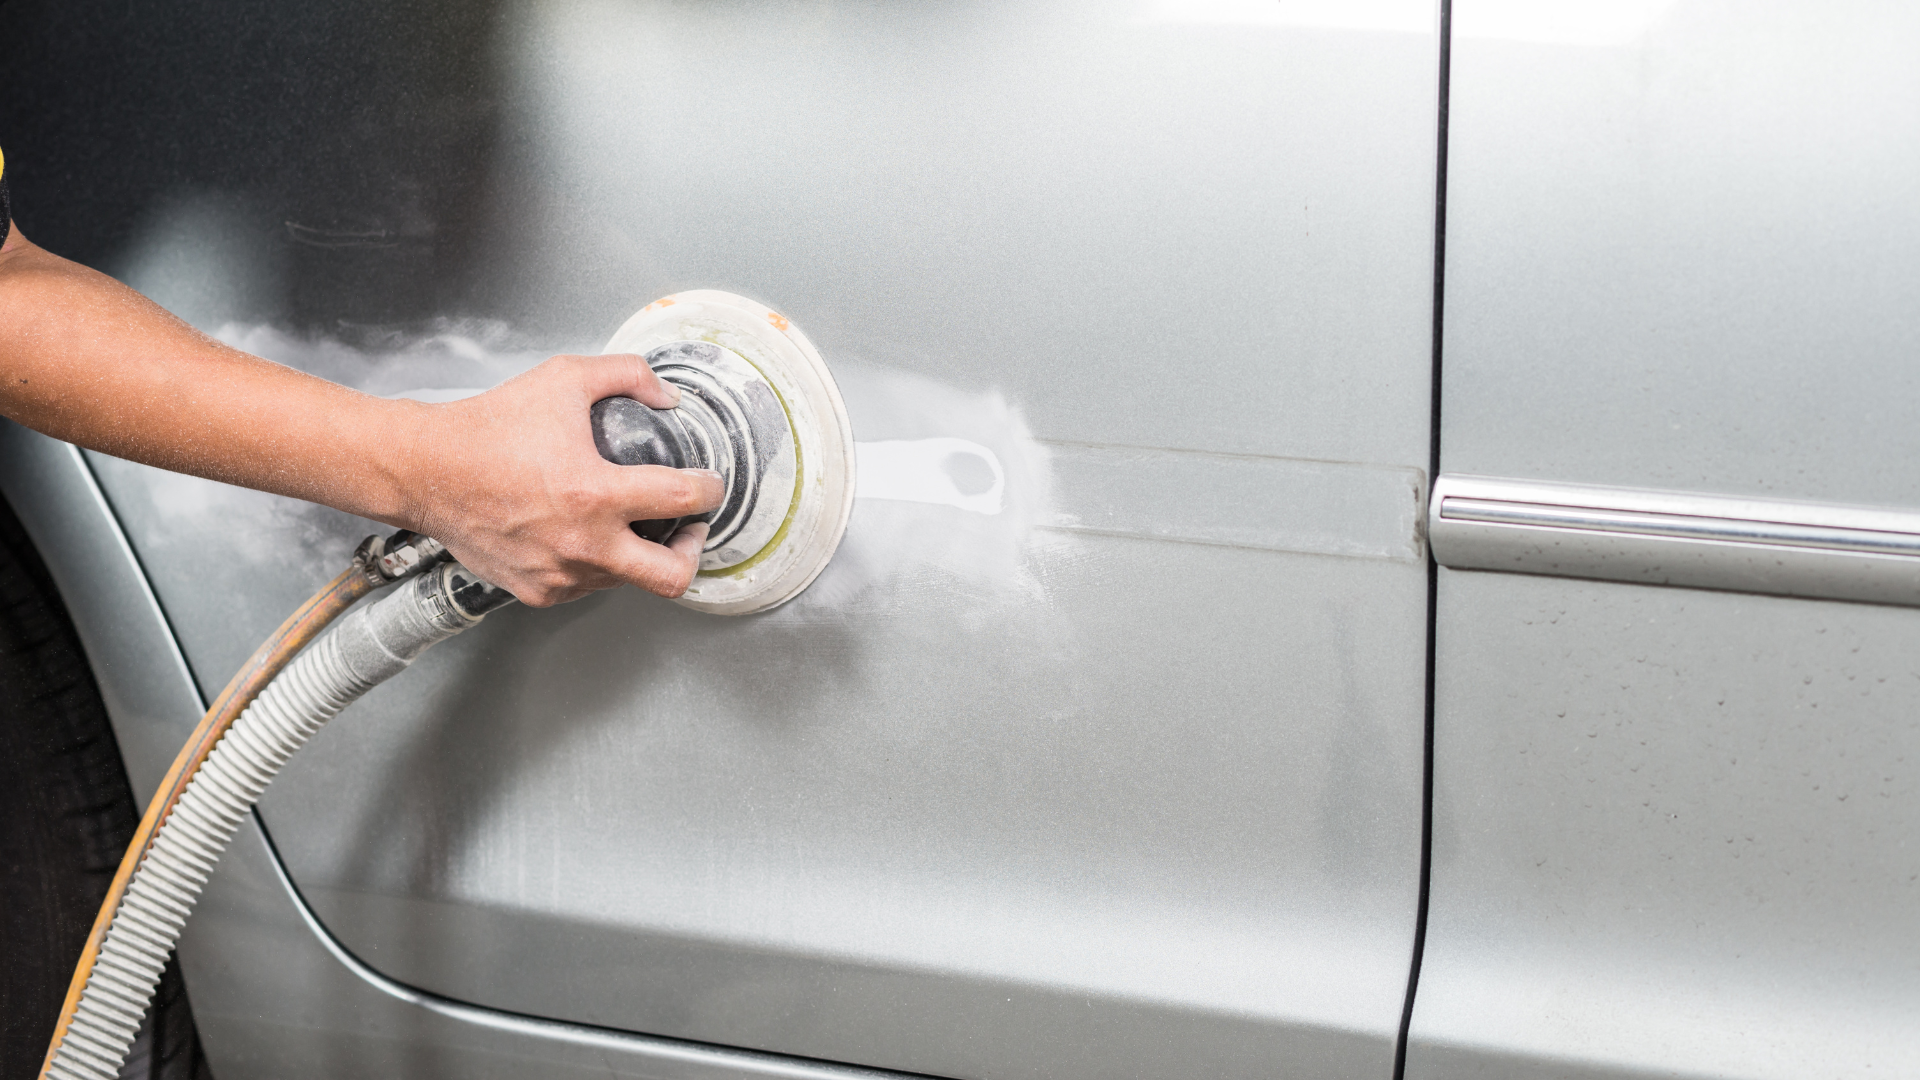
Spot repairs (Smart Repair)
See how to carry out a spot paint repair using products from the NOVOL SPRAY line.
- PLUS 780 – silicone remover
- SOFT PLUS multifunctional putty or FINISH finishing putty
- ACRYLIC PRIMER – acrylic primer
- SPRAY PREFILL + basecoat matched to the colour code
- CLEARCOAT – clearcoat
- SPECTRAL EXTRA 895 – blending thinner
- microfibre cloth
- sanding block
- tack rag
- plastic spreader
- masking materials: masking paper or protective film, NOVOL masking tape
- paper towel
- abrasive paper P180–1000
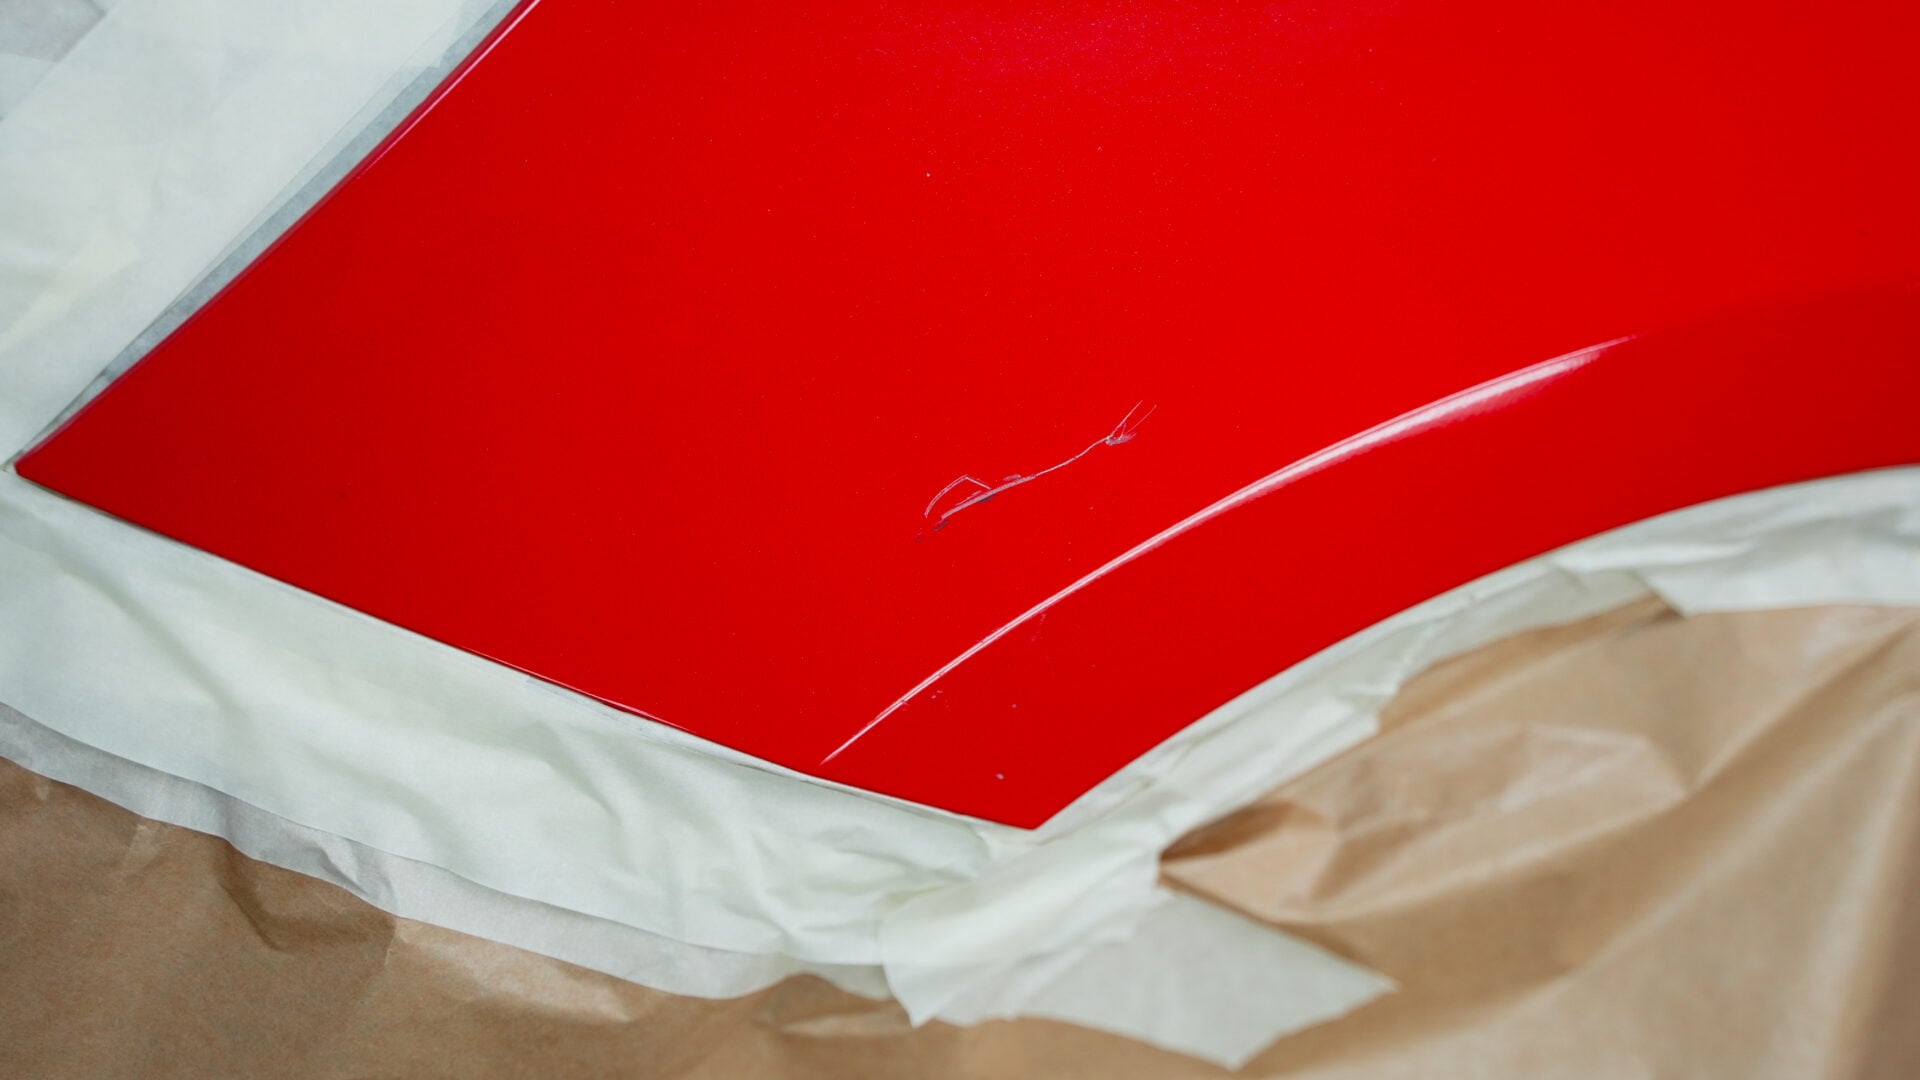
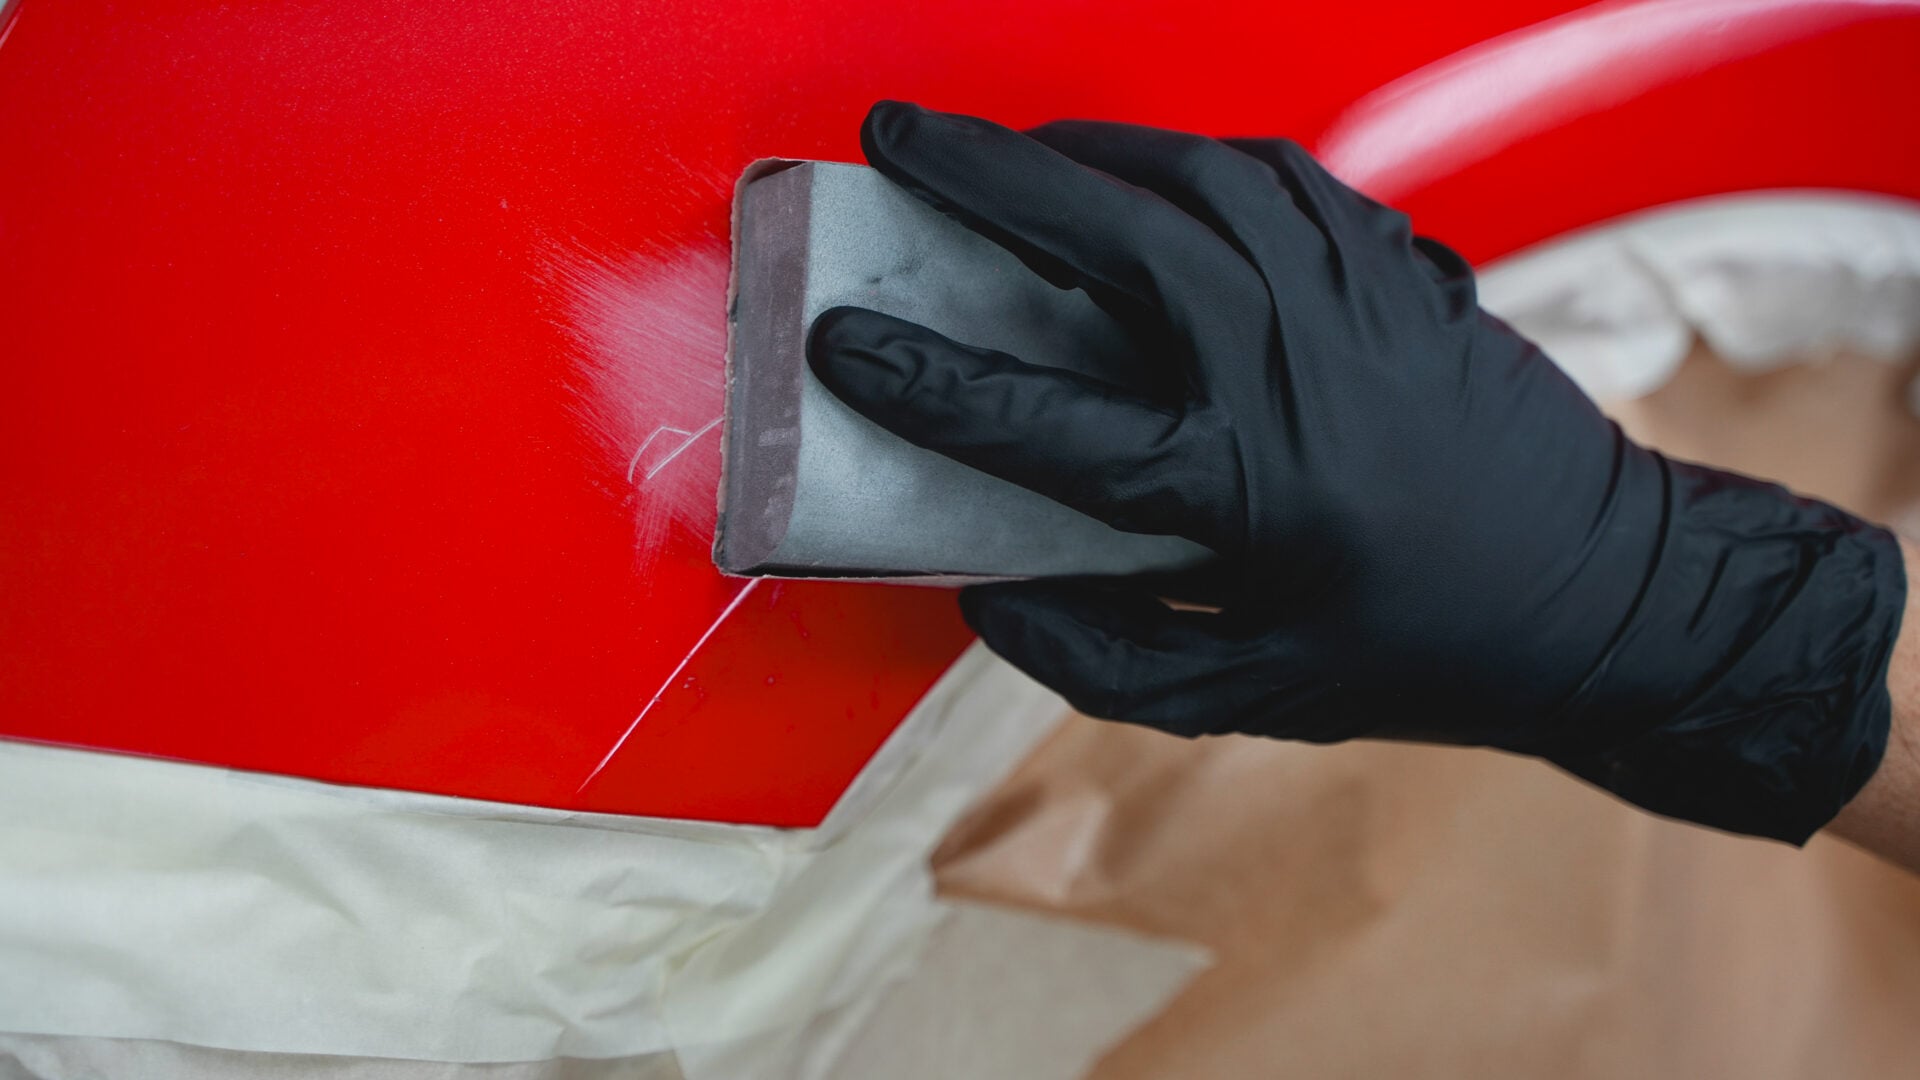
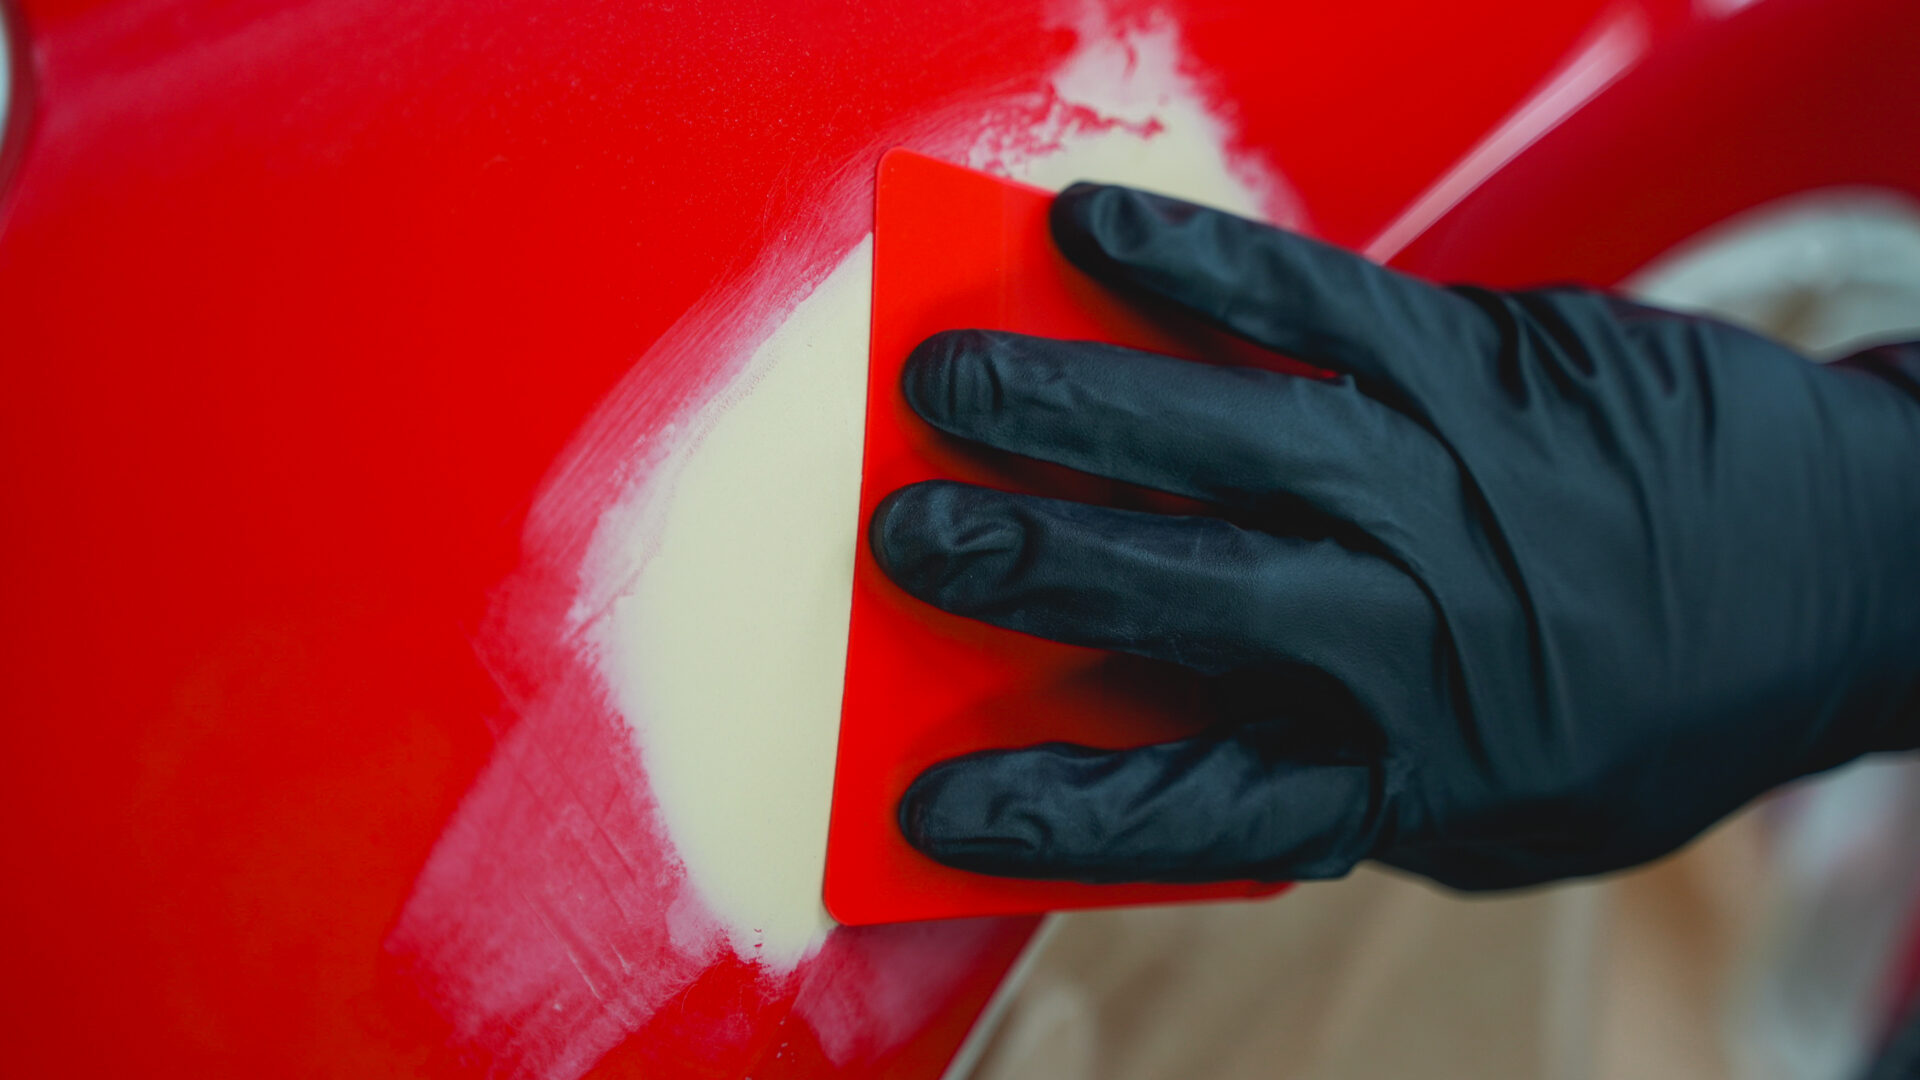
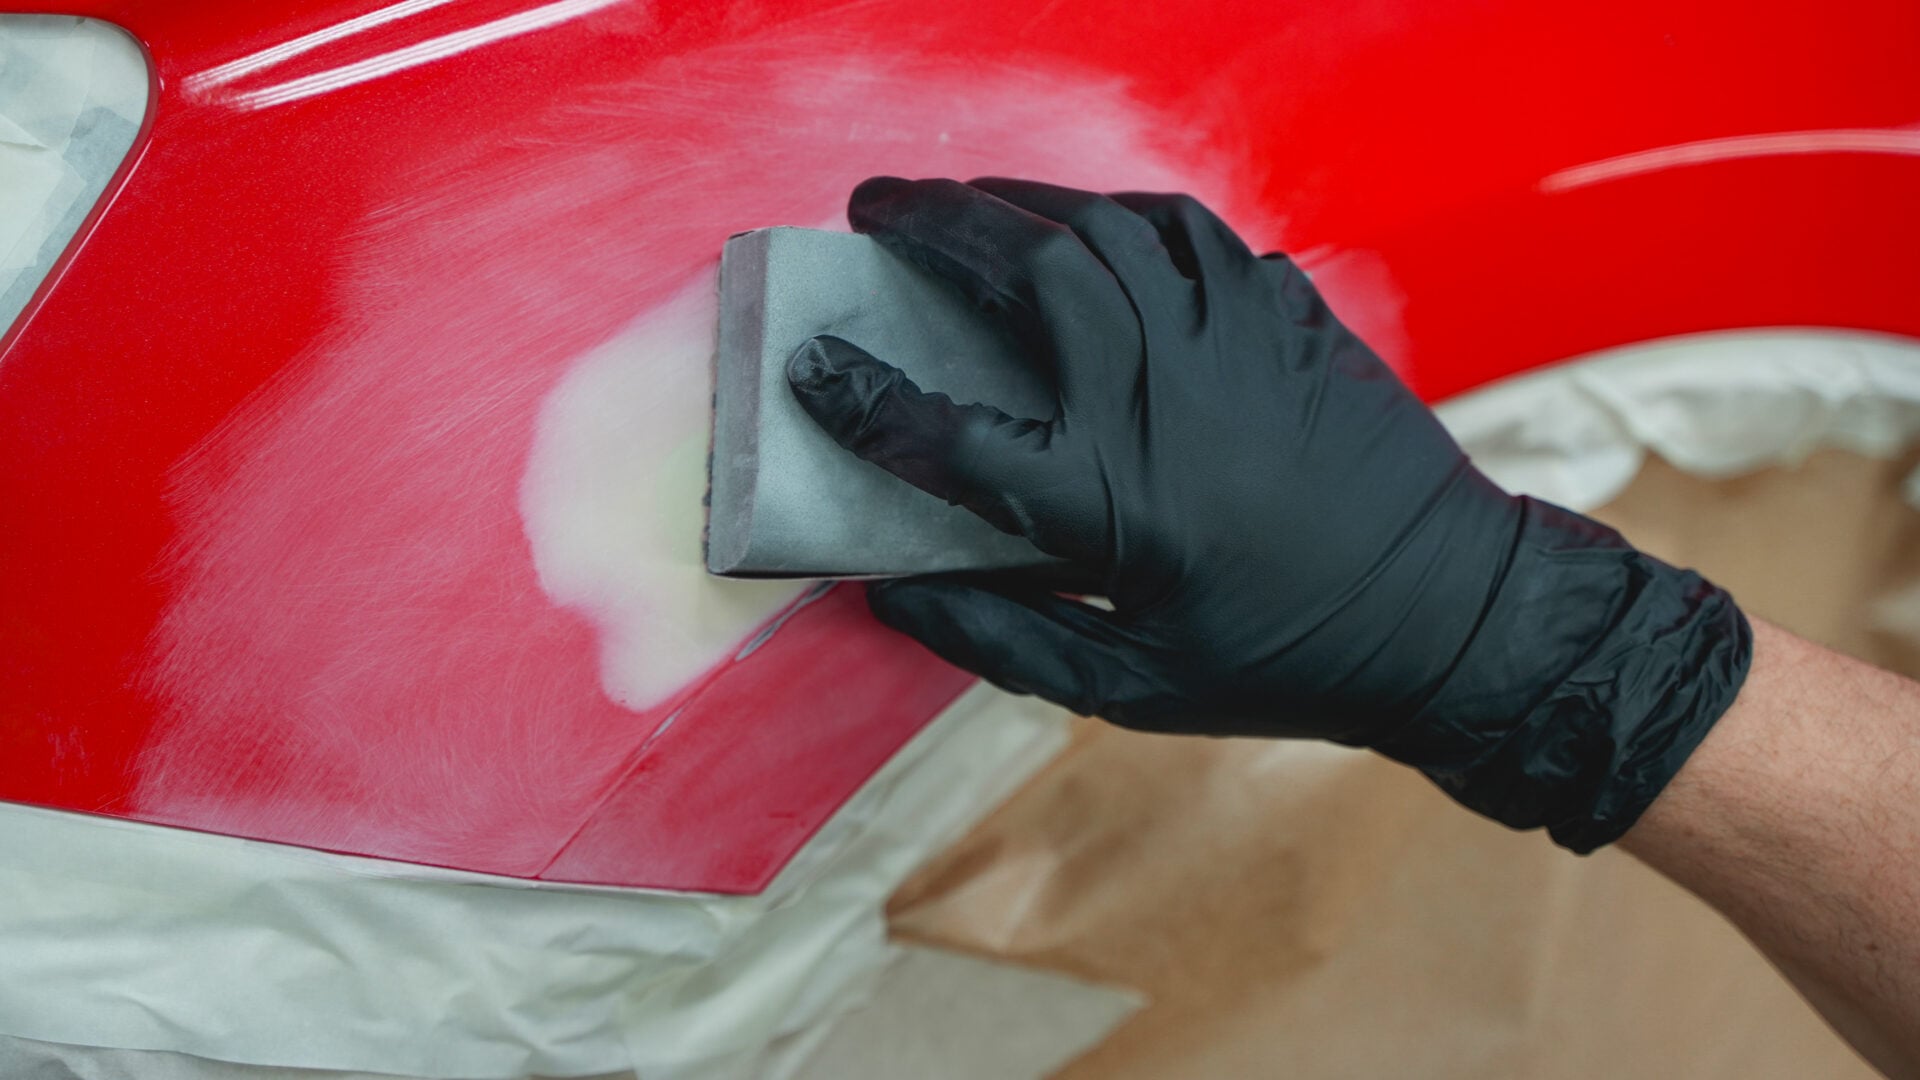
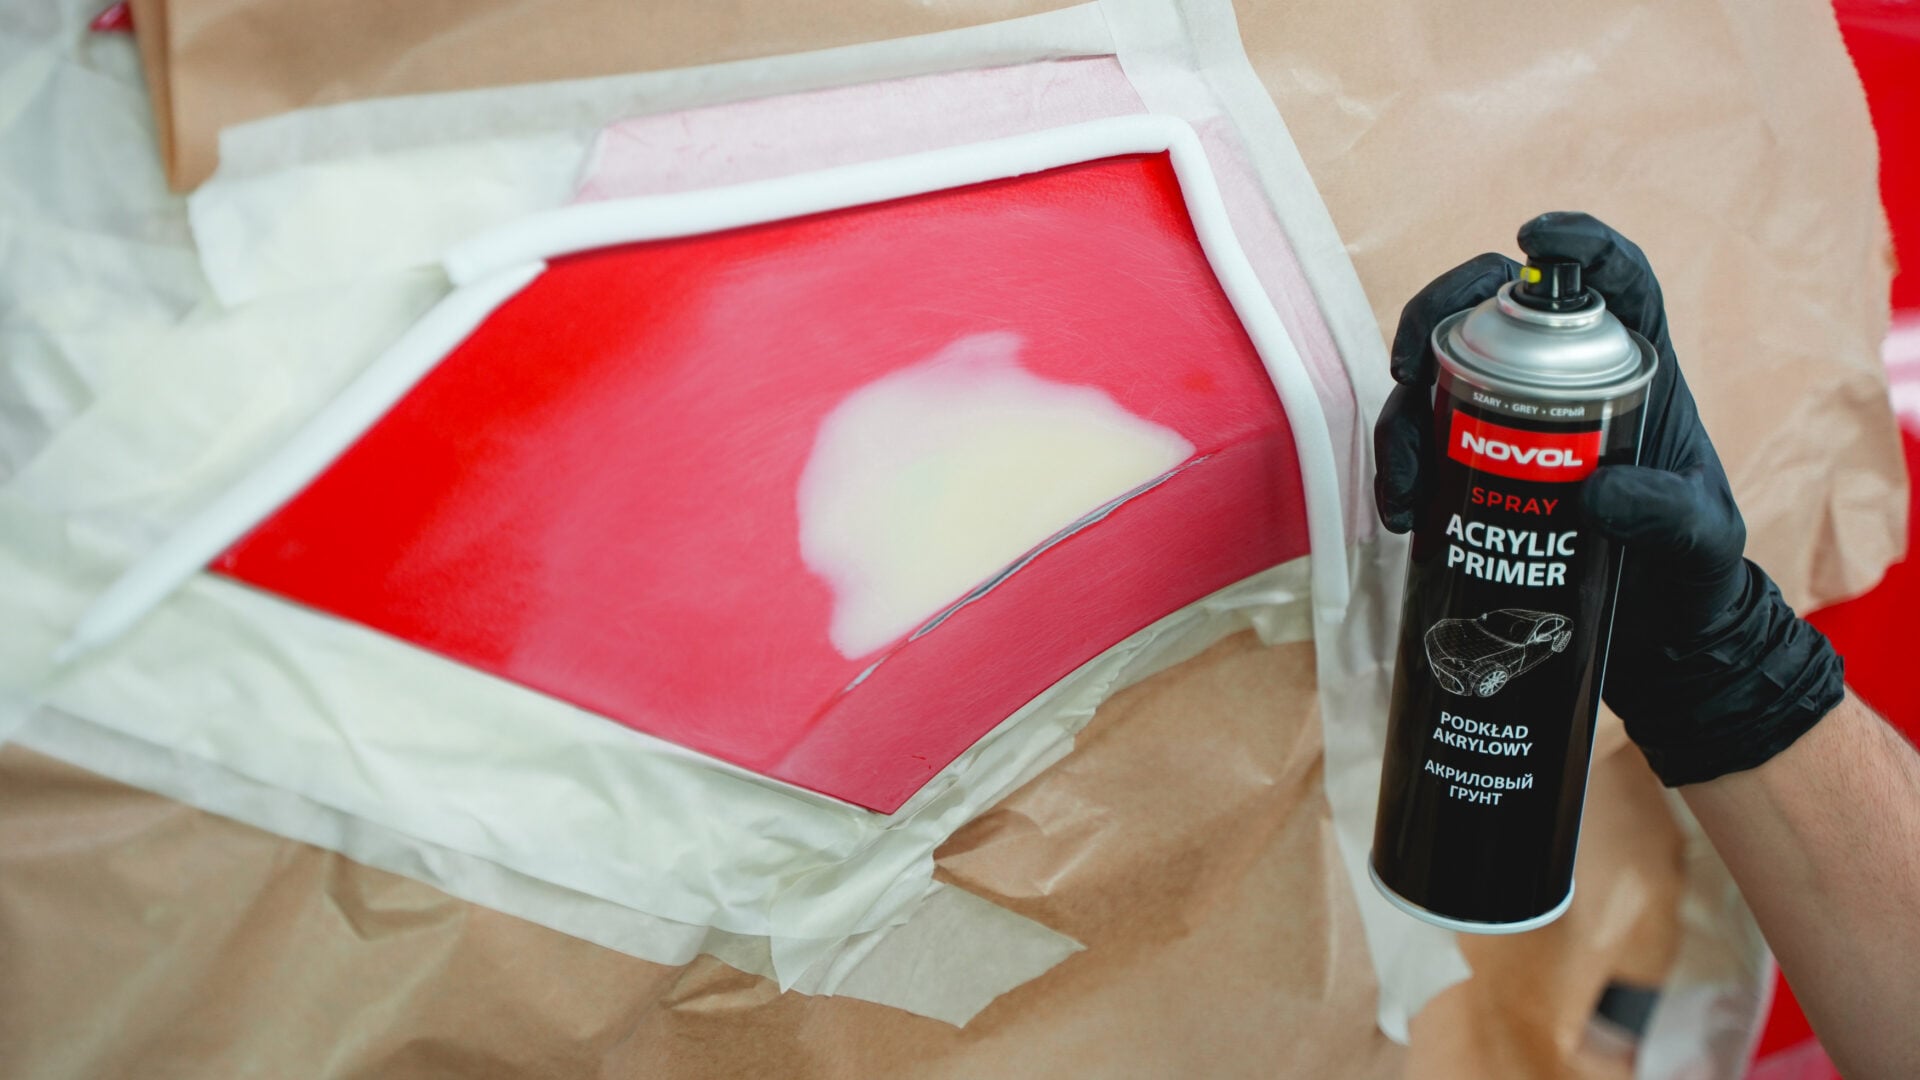
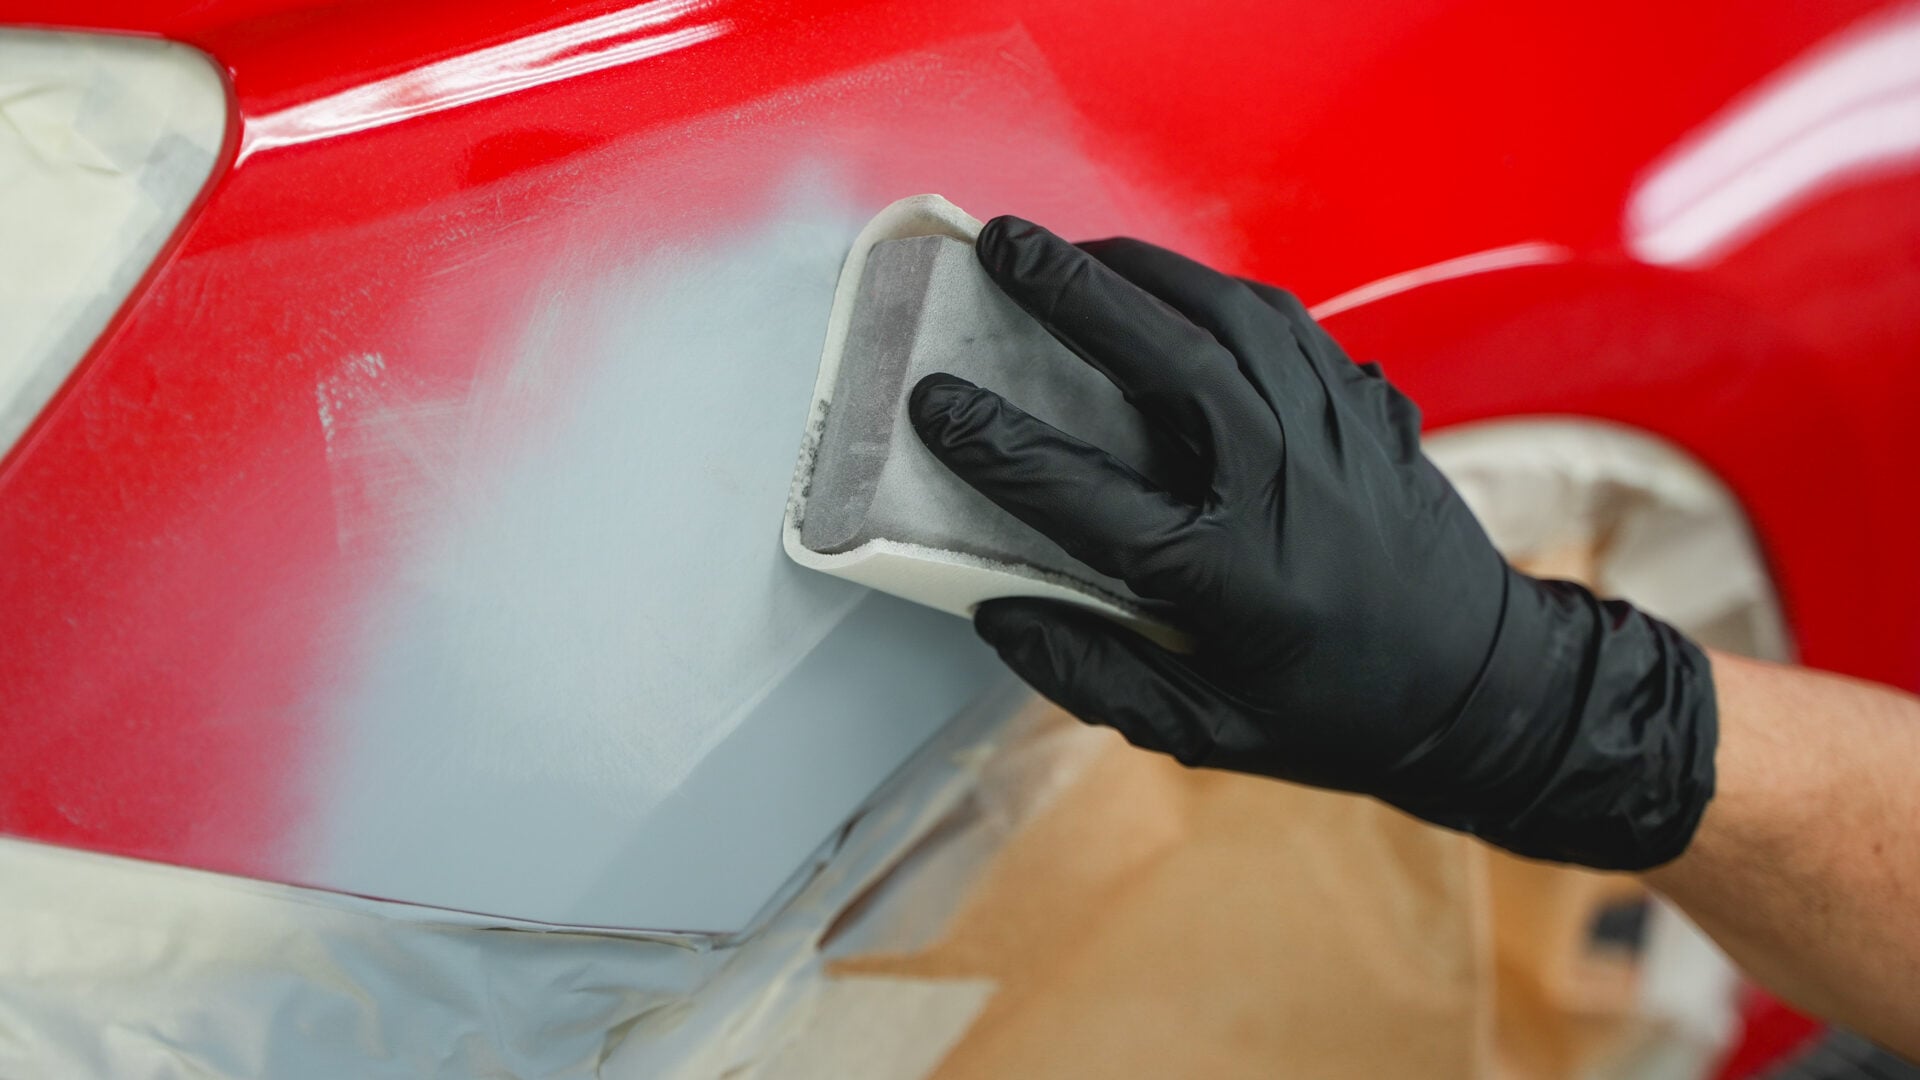
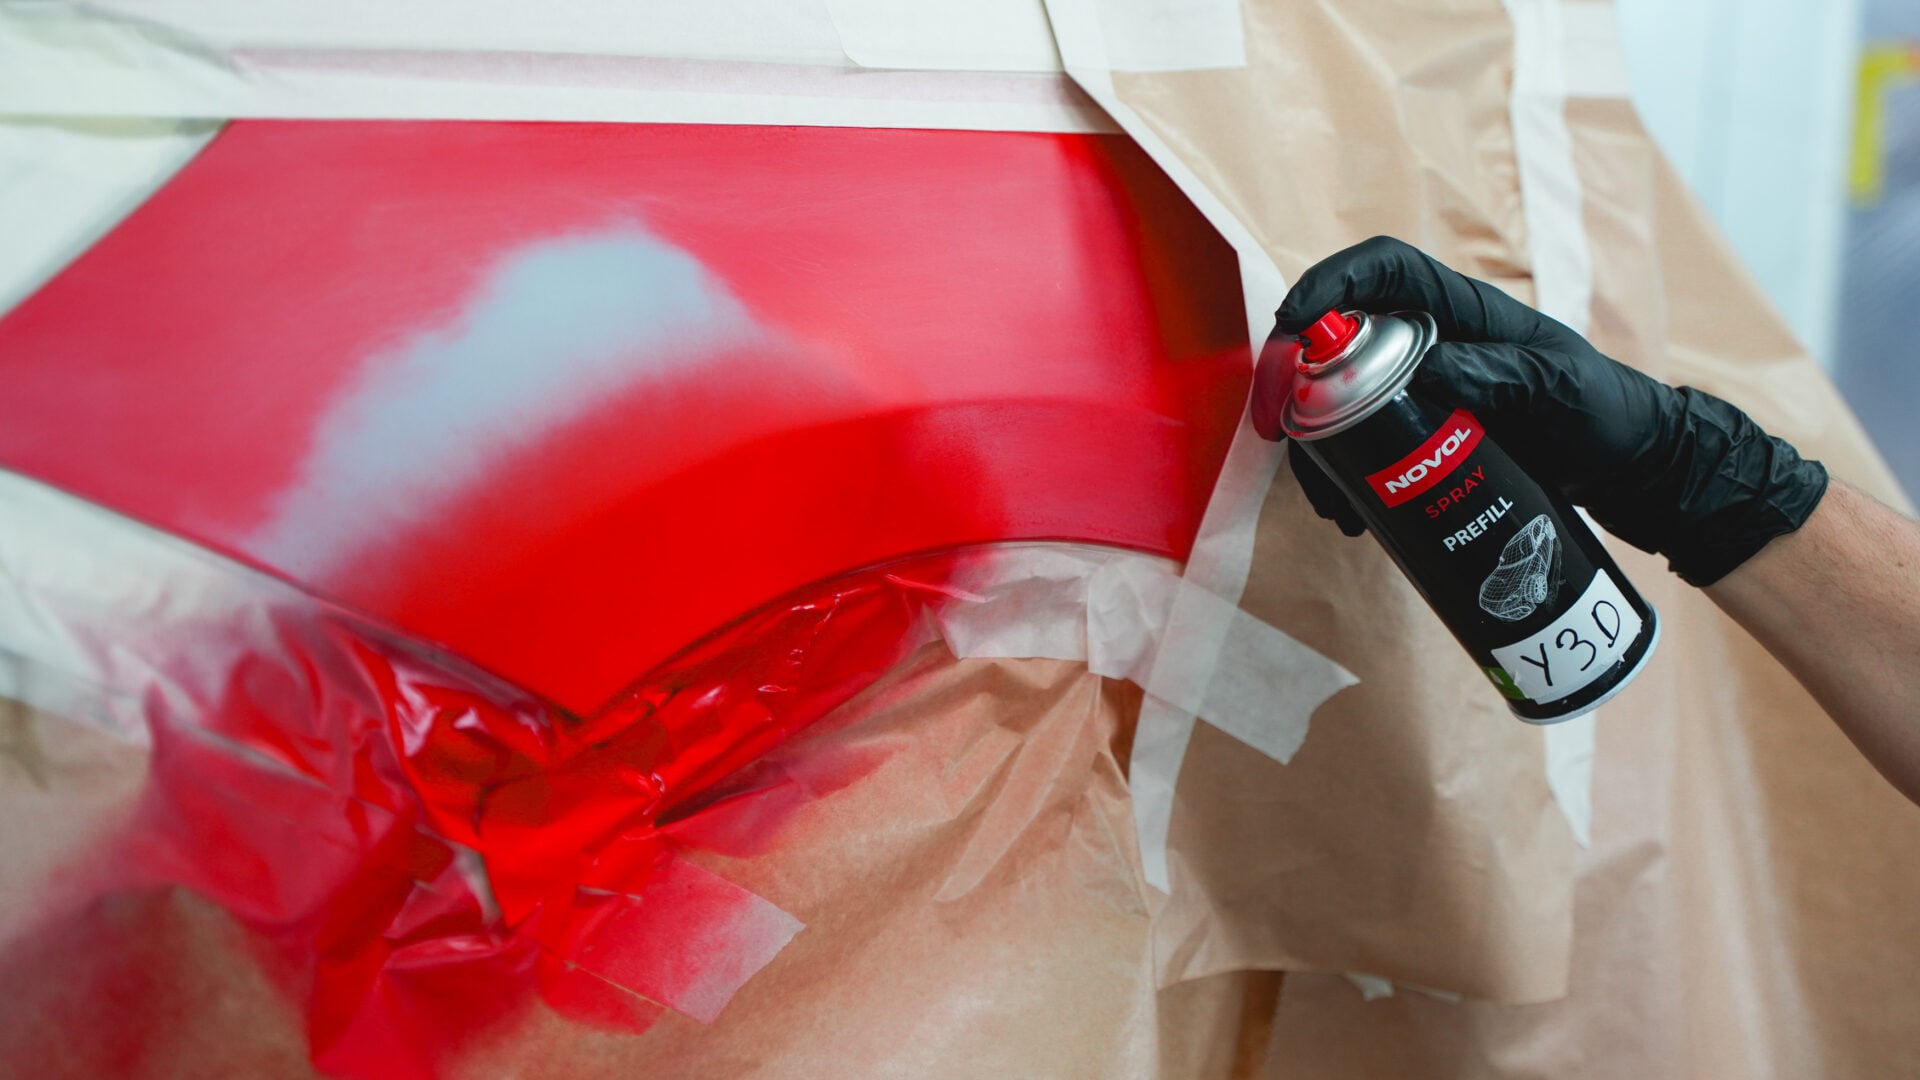
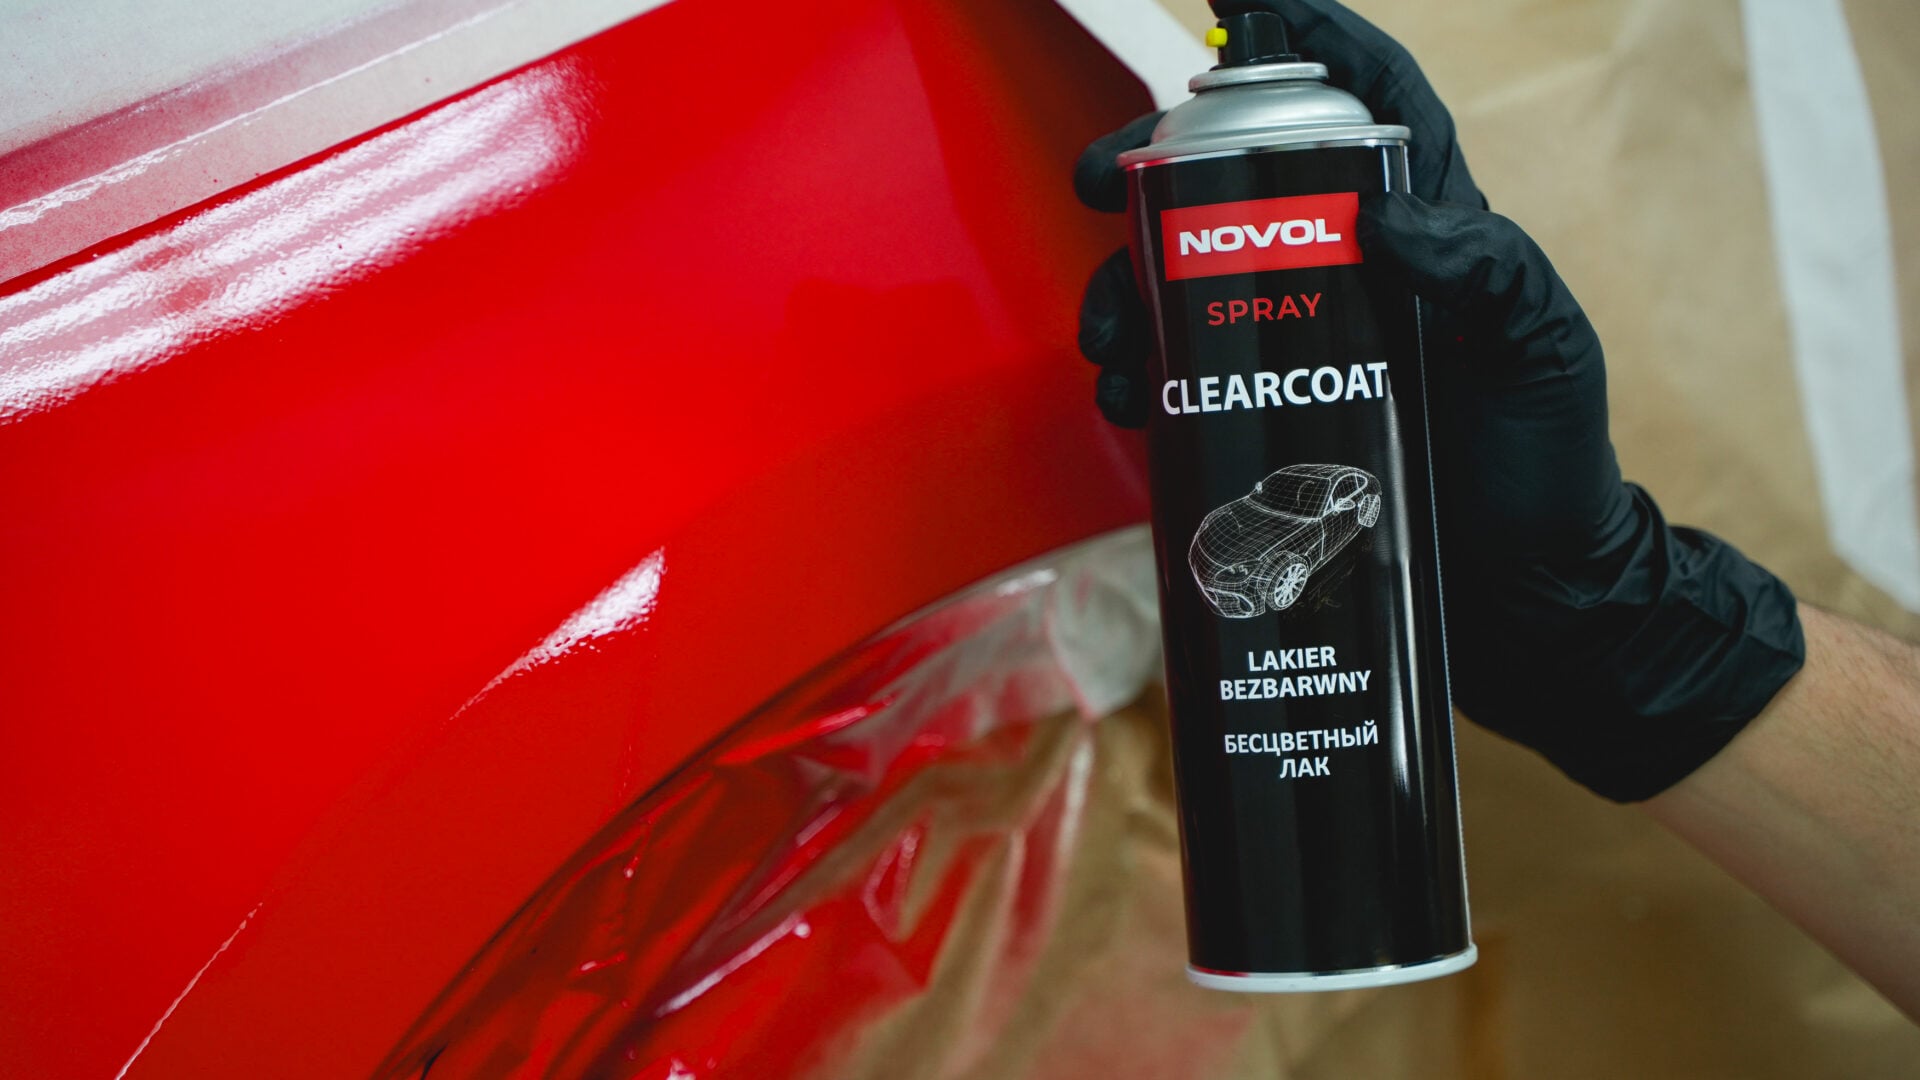
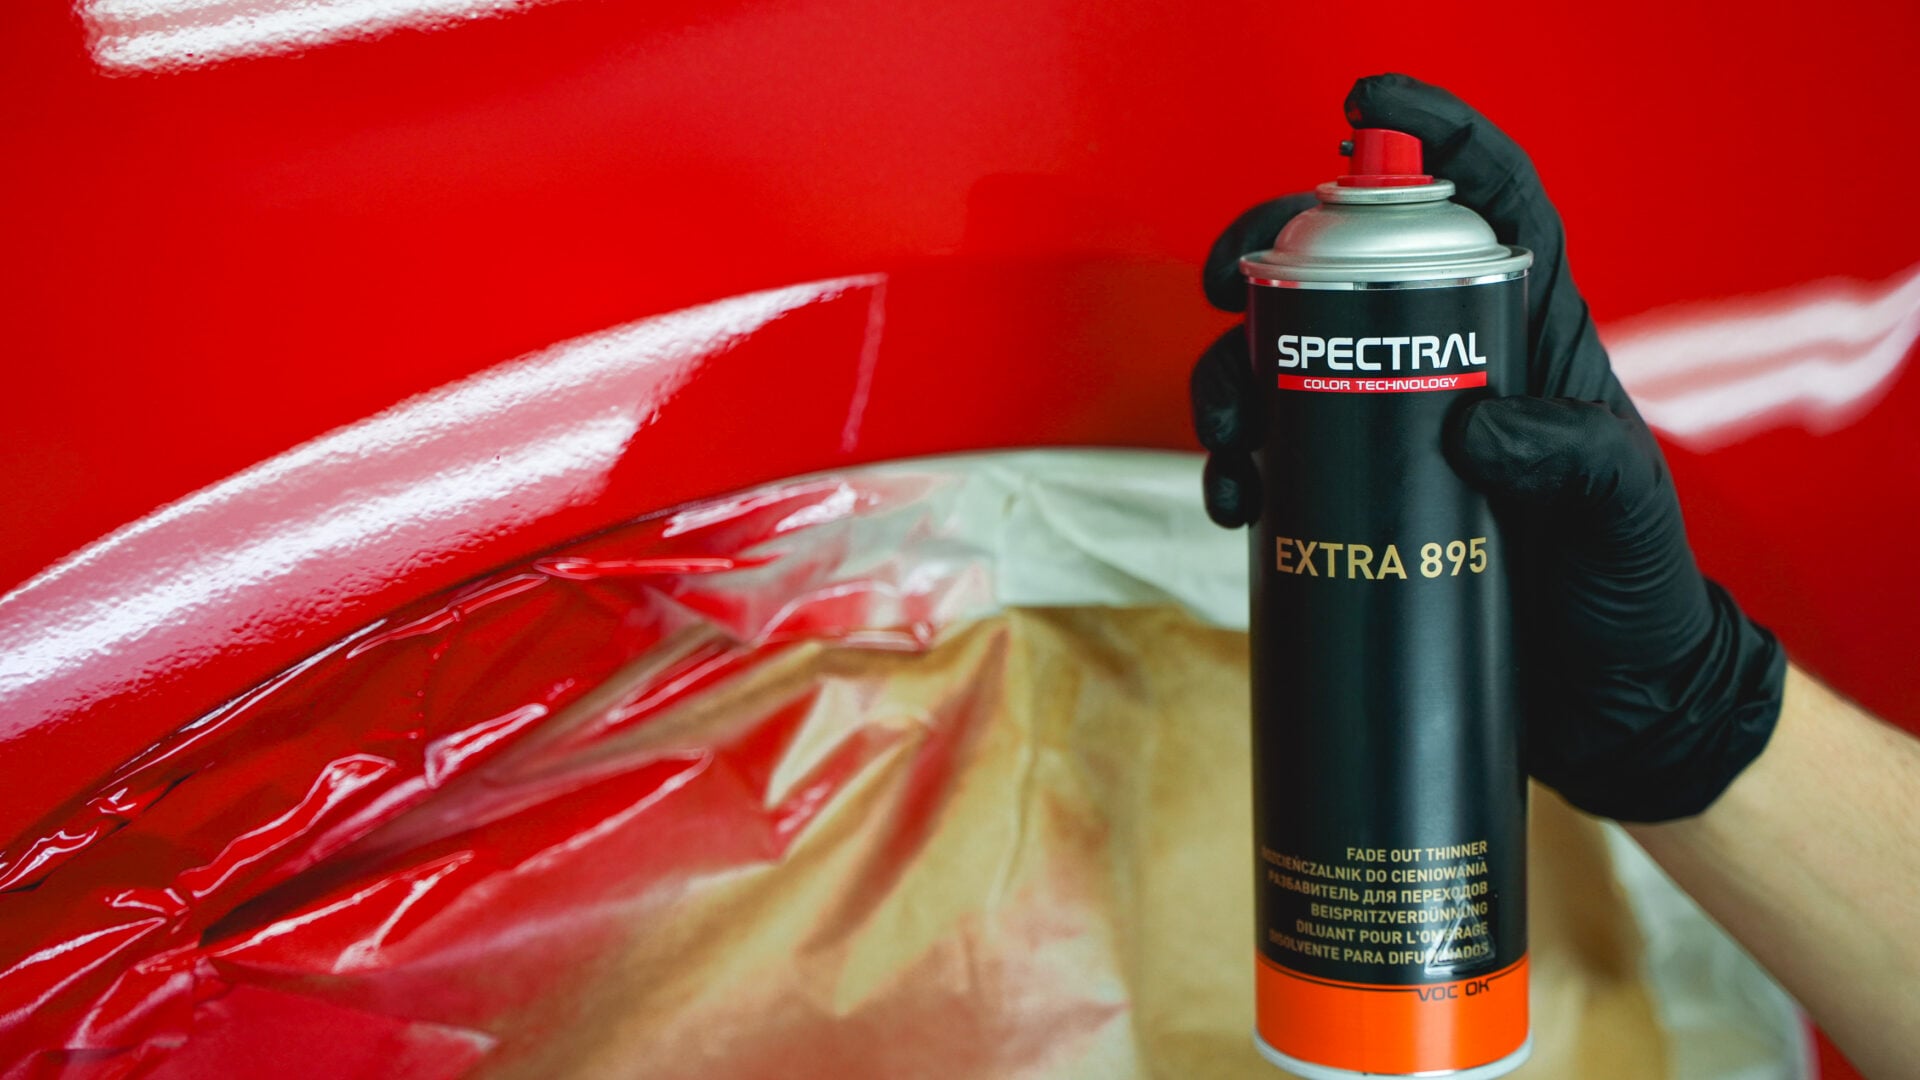
Assess the damage. Spot repair technology is intended in particular for damage located close to the edge of a panel, and the repair area should not exceed the size of an A4 sheet of paper.
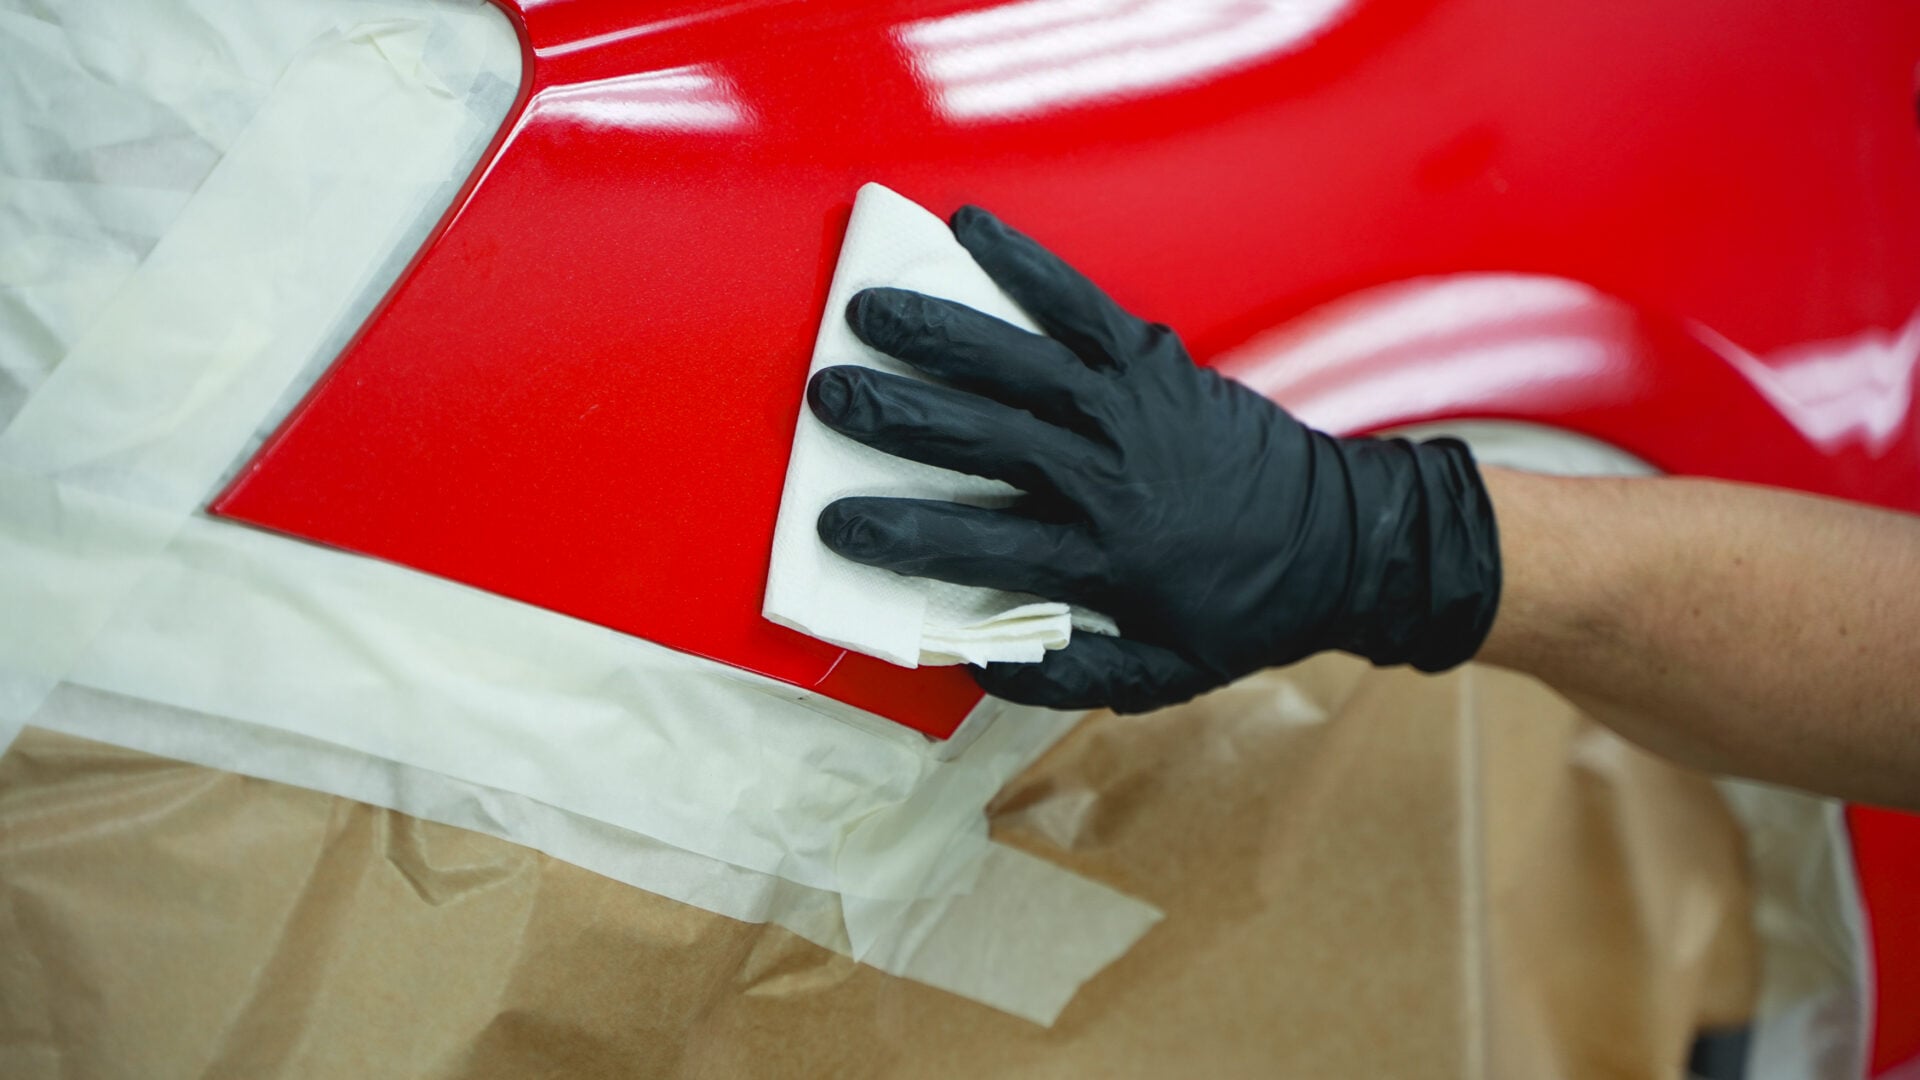
Thoroughly clean the damaged area using the intercoat silicone remover PLUS 780, which effectively removes residues of grease, oil, silicones and other contaminants.
Wipe with a two-ply paper towel or PREMIUM non-woven cleaning cloth, which do not leave fibres or lint.
Feather-edge the damaged area (scratch or dent) with P180–P240 abrasive paper, depending on the depth of the damage.
Blow off the dust and degrease with the intercoat cleaner PLUS 780.
After the putty has fully cured, sand it with P280–P320 abrasive paper.
Blow off the dust and degrease with the intercoat cleaner PLUS 780.
Mask the area around the damage with masking paper or protective film.
Apply ACRYLIC PRIMER to the repaired panel.
- shake the can well for at least 2 minutes to mix the primer thoroughly
- apply 2–3 coats (flash-off time between coats: 5–10 min)
- drying time: 15–30 min/20°C or 15 min/60°C
- clean the nozzle for 5 seconds by turning the can upside down
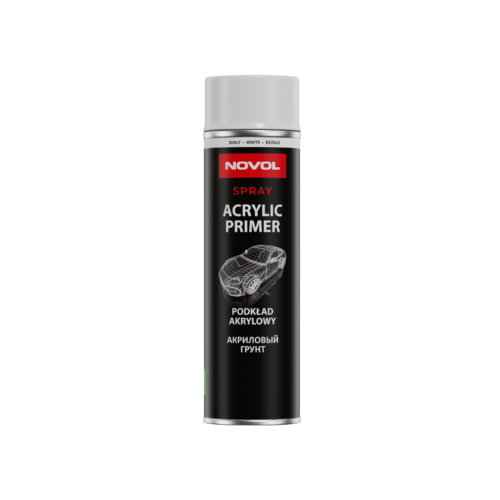
ACRYLIC PRIMER
Spray filler
30 min / 20°C
After the acrylic primer has fully dried, sand it with P400–P500 abrasive paper dry or P800–P1000 wet, or with grey abrasive fleece (Ultra Fine).
Blow off the dust and degrease with the intercoat cleaner PLUS 780.
Order the basecoat in a SPRAY PREFILL can based on the colour code or a colour sample.
Apply the basecoat colour to the repaired panel.
- shake the can well for at least 2 minutes to mix the basecoat thoroughly
- apply 2–3 coats (flash-off time between coats: 5–10 min)
- clean the nozzle for 5 seconds by turning the can upside down
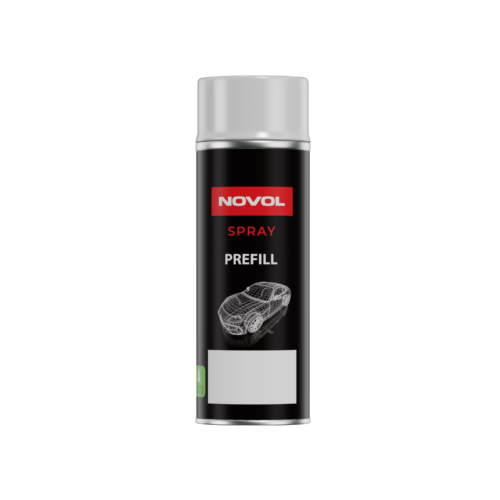
PREFILL
Semi-product for self-filling with solvent-based products
Wipe the basecoat surface with a tack rag after it has fully cured.
Apply CLEARCOAT over the basecoat surface and the wider sanded area of the old coating.
- shake the can well for at least 2 minutes to mix the clearcoat thoroughly
- apply 2–3 coats (flash-off time between coats: 5–10 min)
- drying time: 2 h/20°C
- clean the nozzle for 5 seconds by turning the can upside down
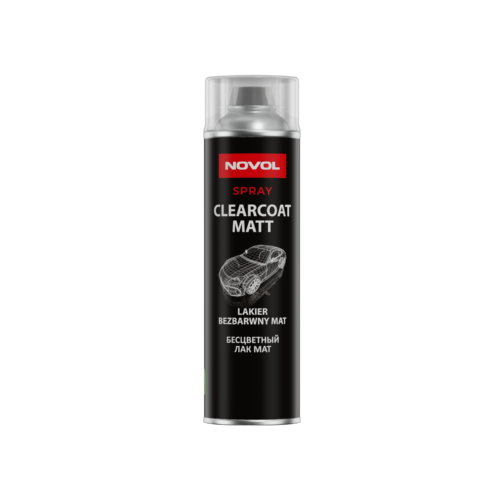
CLEARCOAT
Spray clearcoat. For spot repairs
1h / 20°C
Apply EXTRA 895 blending thinner
in two very thin coats to the transition area between the old coating and the freshly applied CLEARCOAT.